Showing posts with label 15mm. Show all posts

Monday, 21 November 2022

Strength & Honour Game Two.

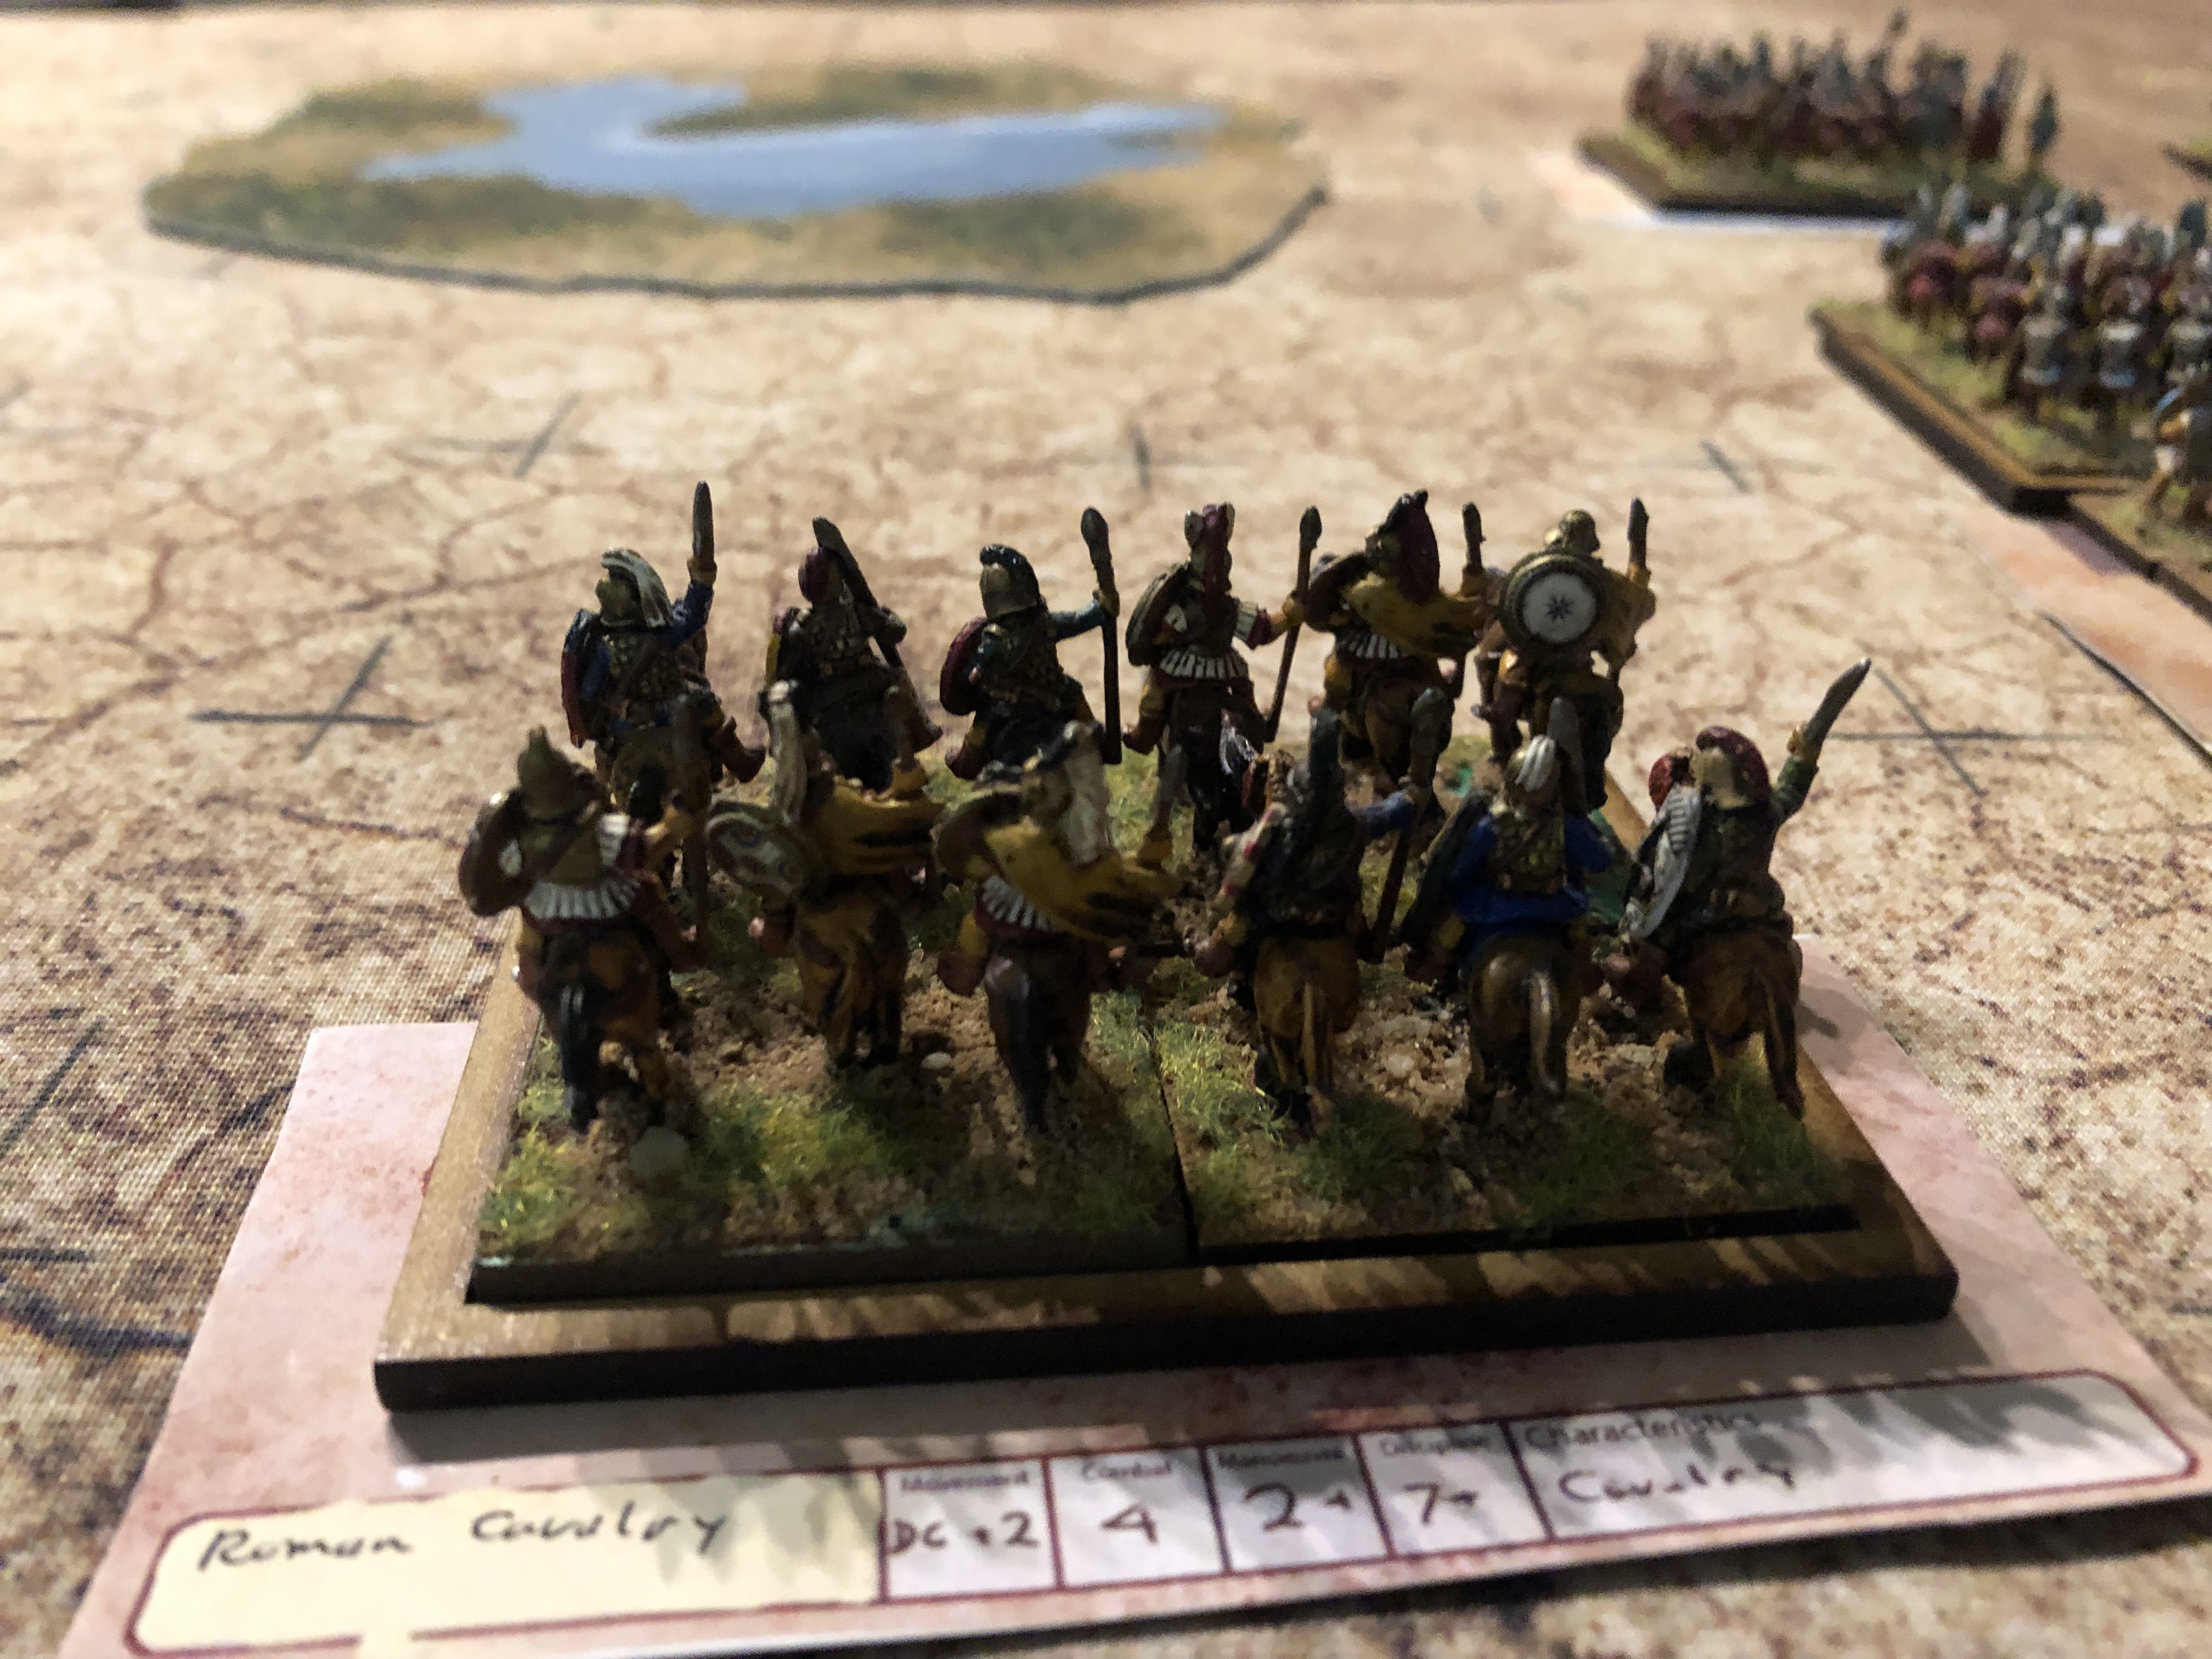
While I am aware the designers had 2mm scale in mind when they were designing the big battle ancients game Strength and Honour.  We got  our   under used 15mm ancient armies out.  Giving them a dust off. They work really well. On my second outing of this ruleset down at the Central London Wargames Club. Dave was good enough to hold my hand all the way through the mechanisms. 


Tonight it was Romans verses Partians. I opted for the Romans on the bases I couldn't find Patria even if I wanted to, and I kind of know how Romans work.  


As is most important in ancients games I gave a little thought to the deployment before hand. Previously, when playing ancients I'd necessarily get this wrong, this would result in instant and catastrophic defeat during my foray in to Fields of Glory a number of years ago. This time it was different, more by luck than judgment if I'm honest. Although I did double check  where I to start my deployment.


Once deployed neatly in checker board legions I let loose with the cavalry on the flanks swooping deep into the flanks an drawing the Parthians out to cover their flanks. 


To be fair I did benefit for the struggles Dave had trying to cross the river bisected the table. While I confidently wedged my Legions betweena lake and some fields to protect their flanks.


I was delighted to see that my probing the flanks was working and I did benefit from so good dice roles, while Dave suffered so 'reversals of fortune' at key times. This is the mechanism, which  following a failed manoeuvre role  the initiative shifts back to the other player.

The skirmishers on the left flank was rolled up efficiently once my cavalry got around the woods and caused them to come out in to the open to protect the rear.  


But the real success was  to catch a unit of Dave's Cataphracts between my Roman Cavalry and a Legion causing them to ping back and forth until the broke and fled. 


The last act was concluded when, the right, a combination of Legion and Skirmishing flank attacks drove the second unit of Cataphracts from the table. 

Roma Victorinus!

I am sure we'll try some more of the Strength and Honour malarky.


Thursday, 30 July 2015

Gallic Allies

According to the Field of Glory Mid-Republican Roman army list you have various  options to take units  other ancient tribes and peoples. So  after some consideration  I opted for a battle group of Gauls. I did this for two reasons firstly I thought they'd be fun to paint  and secondly they can be impact medium foot  and hide in the bushes  until they charge out an die heroically on the enemy's  spear tips.


Hopefully  this gives me enough  time to do something clever with my legions and turn the battle  in my favour. So far they have been very helpful in cancelling out the threat of my opponents medium troops. I guess I am beginning to think about this rules a bit more strategically and am starting to understand how to use different troop types for different roles,  rather than simply marching forward and dying.


I really enjoyed painting the Xyston figures, so much so that I am considering acquiring a few sets of Gaesati "tout  nu" guys to give me an extra  set of optional troops. It will  also give me a touch of practice painting some more Gallic shield designs.


Wednesday, 29 July 2015

Too Bloody Long.


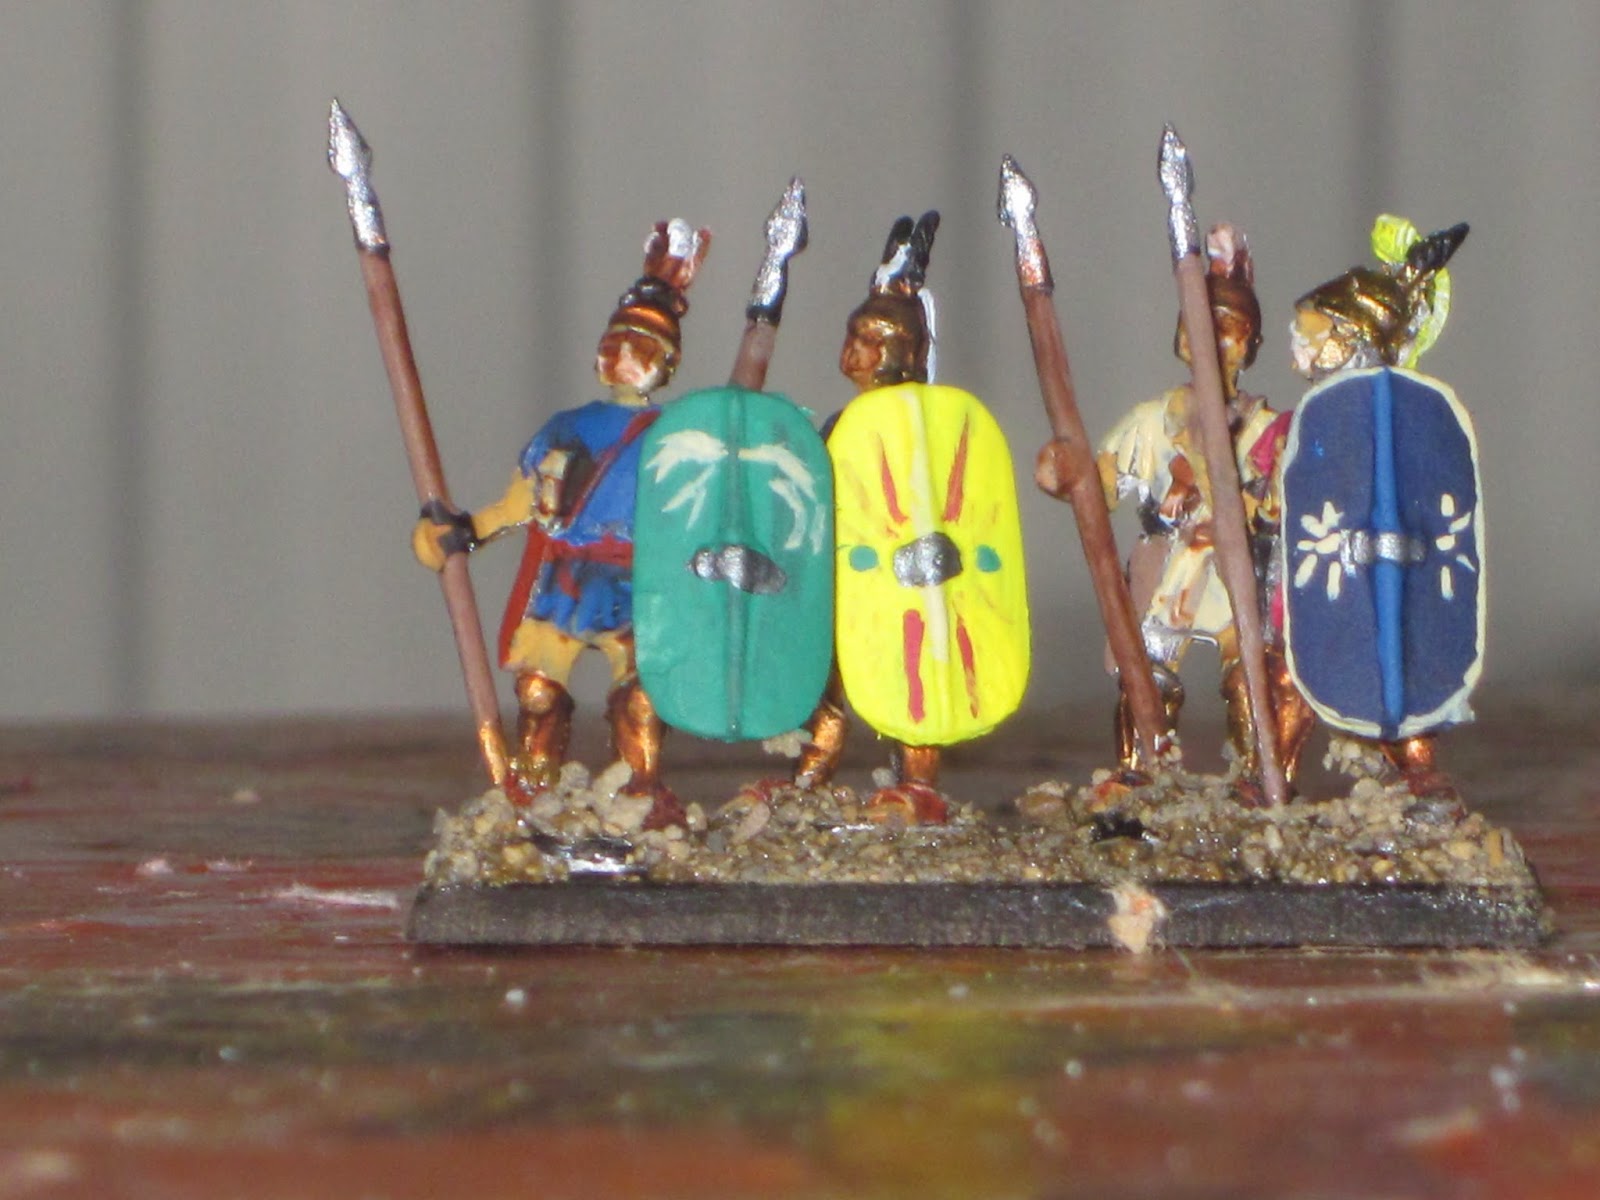
A little while ago I completed six battle groups of triarii for my Mid-Republican Roman army. This means  that now I don't have to keep borrowing Dave and Clive’s figures every time I want to fight in the period before 50BCE.


These guys got there first run out a while ago against Simon’s Pyrrhic pikes and scraped a marginal victory! However, when packing them in the makeup box which I use to transport them, I noticed a fundamental flaw in the construction. I have left the offensive spear a tad too long. They don’t fit in to the box nicely and they have to be lying down. Aside from this minor hiccup I am quite pleased  with the end result, even the rendering of what is supposed to be a wolf on their  shields  is  quite  acceptable.


More soon, I promise!

Sunday, 29 March 2015

Extraordinarii


I have been rather lax of late in the write of this blog. This has been due to a number of real world factor converging with my innate laziness. Nevertheless, despite this over. The last week or so. I have managed to paint up a set of Roman ally medium foot, Extraordinarii for my developing mid-Republican Roman army. 


These guys are from the Mirliton range from Italy. They are really excellent figures , beautifully proportioned and cleanly cast. Once the get a lick of paint the spring to like. 


A further advantage is that since their spears and shields are separate it is possible to get a range of poses. 


I must add that I feel the colours on the Italian style shield has worked well with these figures. Although I would not claim any historical accuracy.


Next up for the painting table will be some triarii.                                         

Sunday, 23 March 2014

Assault on Fort de Fiegnies


McMaster WWI Trench Maps & Aerial Photos  55' - 17' approx. 

This week we had the opportunity to play a multi player 1914 game with the Germans defending a fort position against a combined force of Belgium and French forces. 


In the end the Belgium's were very nearly  achieved the objective by a swift manoeuvre around to the rear of the German positions. Alas  Martin's Belgium's cracked under the weight of German fire. 


Starting positions. 

On the French front the main objective was to get over the river and take the German trench line, following that,  to kick on to the main objective of the fort. 
To this end they charged up the two roads crossing the river. With the regiment on the right supported by a regiment of artillery, located at the bottom left of the photograph above.  the second infantry regiment had a Cavalry regiment  in support. I felt I had an good opportunity of making a break through in one of the positions. 


German trench line. 

Things started well when my pre plotted artillery destroyed two german units in the opening rounds, nevertheless despite this early success this frontal assault proved to be a bloody affair. With the regiment needing to take moral tests on two occasions due to causalities. Luckily they passed on both occasions meaning they could stay in combat. 

French advance.

Despite these loses I was able to exploit the breach in the German line and push my regiment of artillery through the breach which then could bring pressure to bear on the German  flank. Sadly it did not force them to retreat.


French 75s unlimber.

After three hours of play  despite not having taking the main objective of the fort I think it is fair  to say that  that we can hold out for a draw! 


End position.

Alan adds: 

A stalemate has developed in the north, with German infantry in the forest facing-off French cavalry and infantry in Feignies itself.  It was felt unlikely the French would make much more progress on this front.
They did break through the German trench line on the southern front.  At the bottom of the photo their 75s can just be seen deployed to the east of the stream.  However, the French took high casualties in this sector and were prob not in sufficient strength to retake the fort.

Photo credit: Alan


Saturday, 22 March 2014

Hunnic Command Groups


I finished these Hunnic command groups sometime ago and was not over joyed with the way they turned out its all a bit monotone and undefined.  I suspect it all started to go wrong when I inadvertently created a Hunnic elf by painting a red hat on green coated figure. 

I feel I struggled with these command groups because I did not fully visualise the completed look figures prior to starting  to paint. 

    
After a break  I went  back  to the  figures and restarted on the command groups.  and this is what  we see now.  


The Lurkio starter army provides  three command groups with it's FoG starter army  added to this is a Germanic  which  once mixed up are passably  Hunnic command group which offers a touch of variety to the command bases. 


Worth noting at this juncture that  these Lurkio Huns are of a really high standard. The horses and men on the are beautifully sculpted to include a high level of detail. The figure are split at the waist  which allows you  to get a real variety  of poses.


Wednesday, 19 March 2014

Monday Night Mayhem


I managed a spot of Monday night mayhem at central London last week.  My Early Imperial Romans had their first outing of 2014  against Simon's Early Successors.   It is a fairly even fight between legions and pike blocks. So it is often down to who can utilise their other units best to get the upper hand. For this game I made some simple promises to myself which were to make a plan and  then stick to it. Easy enough one would think. 


Thankfully my deployment forced Simon to squeeze his army into just under half the board. This caused him serious problems in organising his battle line and meant he could not take advantage of his superior numbers and quality on the right flank. 


I had to  readjust my line to attempt to counter his strong flank. In doing this I over advanced on the left and did not leave enough space for my cavalry  to  put pressure on the right. 


 On the left was where the skirmishers met for their own private skirmish. Simon had two units of light horse against a unit of horse archers and a battle group of slingers. I used my advantage of greater range and focused my attacks on individual enemy battle groups to try to gain some sort of advantage. Luckily it worked out in my favour.


I had in reserve some roman cavalry to chase down one of Simon light horse units and then  swing around to the rear of his pikes.


The combat  between the main bodies of troops was pretty conclusive within a couple of rounds this was mainly due to really great dice which resulting in Simon’s pike blocks fracturing before he had the opportunity  to bring to bear this superior forces on the right flank. In the end I was pleased to claim a welcome victory, losing only a single base.        

Tuesday, 25 February 2014

The Huns Make Camp

Over the summer I invested in a Hunnic army, naturally most of which is still languishing in its box awaiting painting. Although the command stands are more or less done.  Regular readers  will  remember  I posted a little work on the camp back in September. 

Here are the almost finished pictures. It has turned out quite nicely. I am pleased with the muddy rained on look which the camp seems to have taken on.    


I picked up the component parts from the guys at Vexillia who always provide a top notch service.  This is worth mentioning for two reasons. Firstly, they supplied my Imperial Romans which have featured in previous postings. 


The second reason is to give them a mention is for including this blog on his customer blog stream. Yay! 


You too can have a lovely Hunnic camp just like this one by going along to Vexillia Limited a picking up some odds and sods out of the baggage section and couple of yurts! 

Saturday, 22 February 2014

Spearhead, or Baptism of Fire, circa September 1914


Well the end result of last night’s game of Great War Spearhead was a bit of a mullering for my poor poilu.  Despite the fact I was slaughtered by Alan’s gigantic Germans I really enjoyed our game. Possibly  the  most amusing  aspect of the whole encounter  was that  I could not  manage to call down any off board artillery  onto the Germanic steam roller.  
 
Creative Commons: C.C. BY-SA 3.0 Europeana 1914-1918

The defeat was mainly down to poor leadership on my part and by advancing my regiment  of green  troops on the left right into the face of German guns. Then by handing the advantage to my advisory and allowing him to move first in the next turn. This resulted in the regiment being decimated in a round of withering rifle fire which killed over half of them. Furthermore we should not forget Alan’s strategic brilliance to take advantage and exploit my tactical errors and storm the left flank achieving both centre table objectives.

My 10mm French feeling a little exposed with German flanking manoeuvre complete.
The German Regiment "Alsace" successfully taking their objective in the foreground.

The first response was to attempt to withdraw my remaining units to safety which  in retrospect would have been the better option. I will argue that  permission to withdraw was  refused  by  someone  higher up in the chain of command.  Instead I attempted to stem the advance by sending  a unit of brave if inappropriately dressed  cuirassiers across to the quickly disintegrating flank.  Sadly for me and them Alan’s eagle eyed artillery spotters saw them riding over the crest of the hill and dropped a well-placed shell on them. By the time they contacted the enemy’s flanking force there was one stand left, they killed the lead enemy stand before routing off.      

On reflection for the close on the enemy and slug it out tactic to be successful the French would need to outnumber the Germans around three to one. This is an expensive way of winning a battle.   

A wider view of the terrain showing the German start line behind "one tree hill"

A battalion of the Brandenburg Regiment controlling  the sugar factory objective     

Next time a more measured approach should be taken and keep the élan and flare up my sleeve for the coup de grace.  

Friday, 27 September 2013

Imperial Romans come up against Galatians


Right lets give you guys a battle report. It has been a while since I wrote up a report from one of my games for the blog. On Thursday night I fielded my early Imperial Romans against Alan's Galatians. I won the terrain and optioned for hilly. Nevertheless, in the set up I isolated my light troops by placing them to far over on the flank in an effort to protect a poorly placed camp. This was clear at the end of the game having lost a battle group of light foot and my fortified camp.  


My basic strategy was to attempt to keep the attention of the enemy with a battle line of superior legionnaires accompanied by a couple of battle groups of  cavalry who can pile in  at the appropriate moment to cause mayhem on the enemy's right flank. This was fifty percent successful with the Contonii lancers making short work of one warband  which allowed then to come in to the right flank  of his main battle line. The plan was very close to coming off. However, on reflection while my cavalry left me slightly flat footed. Despite being a little disconnected I felt I could prevail. 


When it came down to it was a game of nip and tuck. Alan killed one of my commanders and then in the following round I kill one of his. I dropped a cohesion level at one end of the melee while Alan dropped a level at the other end. I break a unit of his in the impact phase, he breaks a unit of mine in the melee round. 


At the end of the game I was sure I could edge it with a charge to the rear of the end of his battle line. Alias my brave legions charged in carrying a disrupted marker and lost the impact and double dropped to broken and ran away giving Alan a well deserved victory nine points against four.