Friday, 27 January 2017

Chain of Command: The Probe Scenario


Months after the event here is the long awaited write up of my second game of Chain of Command.  In these games I have found the rules really easy to pick up. This of course adds to the enjoyment because we are not constantly spending time refereing back to the instructions.


This probe scenario was based in France, May 1940. The victory conditions where to get one unit across the table and off the other side.  To this end I selected a Sd.Kfz.251 halftrack and a StuG III Ausf.A. to act has close support.


I managed to get my jumping off points either side of the road where I wanted them. This allowed me to deploy troops in  positions either side of the road to supress any defenders who moved up to take offensive action against my probe.


Once my infantry units deployed and I had tucked my halftrack behind a building to await its moment to advance on the bridge. I brought my StuG III up placed him in a field on the other side of the board.  This had two purposes; firstly to shift attention from thee infantry advancing on the bridge and draw fire away from them. Also, more importantly this was to put pressure on enemy positions on the high ground towards the rear of the table. This worked very well and forced my opponent to redeploy his QF 2-pounder anti-tank gun.  The   following duel resulted in success for the StuG and destruction for the plucky 2-pounder.


Following that my confidence was buoyed and I pushed forward with my platoon who had seen off a couple of British sections while the StuG and the 2-pounder were knocking lumps out of one and other. Their subsequent advance ensured victory was secured for the Germans.   


In closing, I am very grateful to Dave S. for suggesting I try Chain of Command and also bringing along all the various toys needed to play. We have our third game booked for February.        


Thursday, 26 January 2017

Japanese for Chain of Command

Here is a quick post to show off  the  first three Imperial Japanese Figures for Chain of Command. They are  From Warlord's Range.

On the internet the is bit of debate about the best colour mixes  for Japanese  uniforms.  I used the Valejo range for these guys.  The officer's uniform  was a mix  of Russian Uniform and Panzer Yellow, while the mortar men were painted with a mix of Panzer Yellow and German Ochre. On  reflection the mix appeared bit dark  so  I will  try a variation  on  the mix  for the next batch of  figures.


All three figures were then washed with Games Workshop Camoshade which work well on giving  the  figures a touch of depth.


One the key issues for these figures was to get the flesh tone right.  At this scale I added a touch of  Panzer Yellow to Sunny Skintone this mix was then washed with Games Workshop's Flesh tone.


 I am pleased with the results so far considering I only have around an hour an evening to dedicate to these figure. 


Friday, 14 October 2016

Battle of Guise (Again)

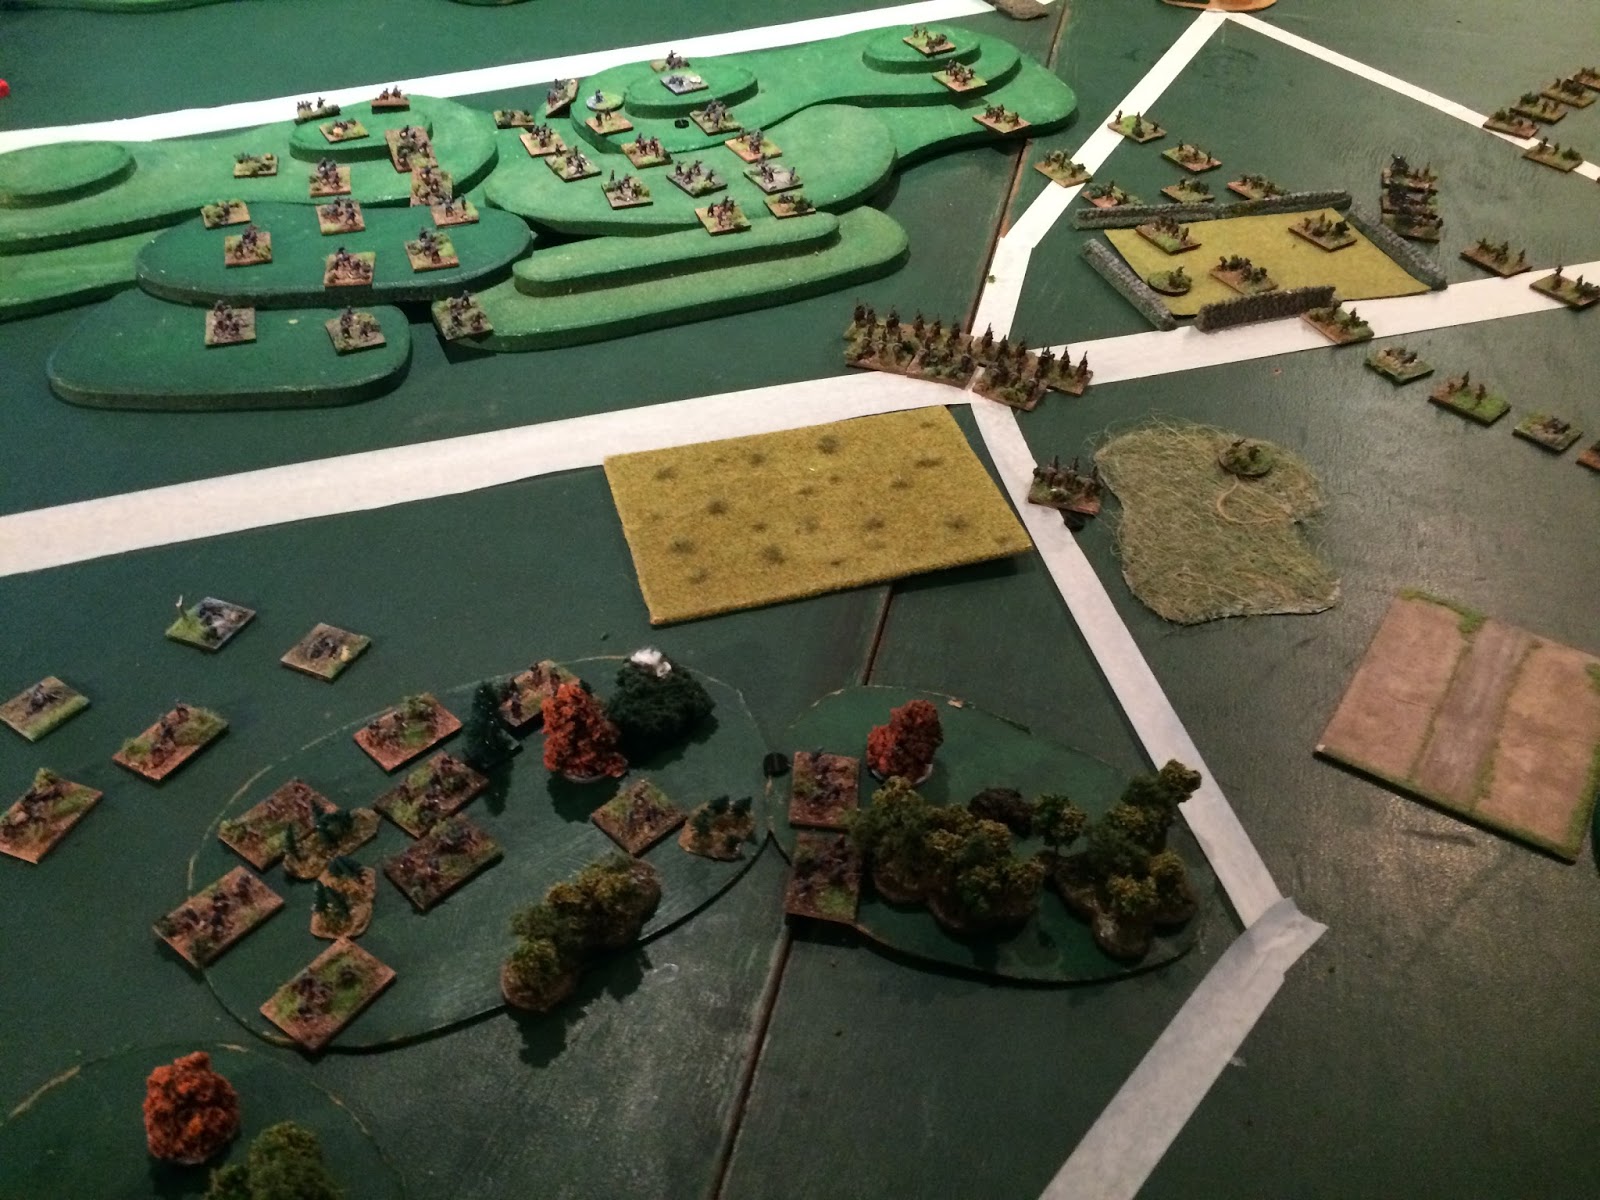
This week at the Central London Wargames Club we got an opportunity to have another go at the fighting the French counter attack on the left flank  of the battle of Guise. 

The French advancing, note in the background a unit of Uhlans charging down the road towards the French rear.
It transpired to be a most successful scenario which seemed to represent the historic action well.  Though the French came out slightly better at the end of the day. This was principally because the Germans ran out of steam by the closing stages of the engagement. 

The Germans, under Martin's command showed his Ulan's agility by galloping  the entire length of the  board to take up positions  in the undefended town in the French rear. 


Two regiments of the French centre traverse the high ground . 
In doing so  they successfully avoided my French cavalry who were scouting against him  they had just barrelled up the main road in an effort to take the crossroads. They got a nasty shock has they met a regiment of Artillery sitting on the crossroads. Unperturbed they charged! The follow action perturbed them somewhat but not before destroying a battery of  German 77's. This forced the Germans to show their hand and allowed the French to zero in on the crossroads.

The main French advance was on three fronts, sending the main force of 2 regiments over the central hilly region. They were supported by a the third Regiment and a Regiment of 75mm Artillery  to their right who where principally positioned to to defend the road and cover the flank of the main thrust.  


The French right flank in position  to engage the advancing Jaeger regiment.
On the left of the main attack the French attempted to flank the German advance with a regiment of Tirailleurs Senegalais light infantry. 

The centre commanded  by Alan, held  the advancing Germans and they fought  each other to a stalemate with a regiment from each side  forced in to retreat due to excessive casualties. On the left the Tirailleurs failed to cross the canal and were met from strong German defensive fire from the village.

However on the right flank the French 75's fired effectively causing casualties to the remaining German Regiment allowing the third  French regiment to advance  and flank the German positions which would force them into a withdrawal. 


We have played a  good few historical refights of First World War battles over the centenary period using the Great War Spearhead rules and it seems to work well and produce generally  historical results as far as we can tell. Though personally I find elements of the rule set quite complex when it comes to artillery fire. Despite this the rules seem to produce entertaining evening of gaming.  

Monday, 27 June 2016

Battle of Guise


In May over the Spring Bank Holiday which happened to coincided with the centenary commemorations in France and Germany of the Battle of Verdun. We got together at Central London Wargames Club  to play a Great War Spearhead game. The scenario was based around a French counter attack on the 29th August 1914 during the closing stages of the battle of Guise. At this stage of the battle the French attacked in an attempt to turn the German flank and cause a withdrawal in their centre.


Using the online trench map archives at the library in McMaster University I located the area on a contemporary War Department Map. Which meant we could approximate the terrain on the table top. The scenario involves the French assault on the German Flank in an effort to turn it and force them to break off their offensive. 


I was the French. My tactics left a bit to be desired. I forget field artillery had the ability to fire indirectly. To add to this I insisted on driving them through a wood which is never a good idea! 

As a result my infantry attacked with no support. And suffered horrendous casualties. 


We did manage a cavalry charge engagement as the two scouting elements found one and other in the centre. Again poor situational awareness was my undoing. My cavalry strayed too close to a German machine gun position which wasted no time pinning one of my cavalry stands resulting in  being out numbered for the charge. Still if was interesting to get into the position for a cavalry charge in the first instance although my cavalry were beaten and withdrew. 


On reflection if we fight the battle again I would be a bit more cautious and attempt to orchestrate the assault more closely with the artillery and shell enemy through out the advance. In an effort to get more pin markers  on the Germans which would give the French a better chance of breaking through their line. However the outcome was basically historical.  


Should we fight the battle again we will see if I've learn't anything.