Sunday 30 July 2017

Chasseur à Pied Completed.

Well here is my completed Chasseur à pied. He is depicted  has the  Jon Smith Modellbau instructions suggest waiting an early version  of the horizon blue greatcoat.  I did contemplate  painting it French blue as per the early pattern greatcoat. In the end I opted to go with the horizon blue option because it offers a contract to the kepi.


The horizon blue was mixed in with grey, black, French blue and Prussian blue was mixed in varying amounts to represent dirt and grime engrained into the greatcoat.  The buttons  where painted  in U.S. grey and then high-lighted with pencil lead.  I feel the general look of the uniform is a bit too Confederate grey. I will come back to it later see if it blue is glaze would help it.


The kepi got the French blue treatment with shadow layered with a  touch of black. the piping was  painted with lemon yellow and then highland with pale sand with a touch of sand mixed in. Lots of patience and a fine rigger brush.  Knowing when to stop was a key in painting the piping.


Thanks for taking the time to look at this post I do hope you like the almost finished result. Please feel free to add your comments below.


Friday 16 June 2017

Malaya 1942 Campaign Game One - Patrol

Well, after the first campaign game and its one nil to Dave's Australians. So fair dinkum cobber. 
More haste and less speed is the lesson I will take from this encounter. 


This post will basically consist of a list of the mistakes I made. The end result  was basically engineering my own defeat from a relatively strong position.

Lesson One 

Just because I have tank does not mean I should deploy it at the earliest opportunity

When to do so would put it directly in the cross hairs of a the only Australian unit capable of destroying it. I didn't exactly make it difficult for the Australian 2 Pounder by placing the lump of metal where they want it. 

One upside of this was it provided me the opportunity to use my new smoke and flame marker, recently, liberated from my wife's craft box. I suspect the destruction of this tank was a touch of karma. At the beginning of the game when I rolled my support dice I  had not rolled high enough to get a tank. We decided to re-roll it so allowing me to choose a tank from the support list. 


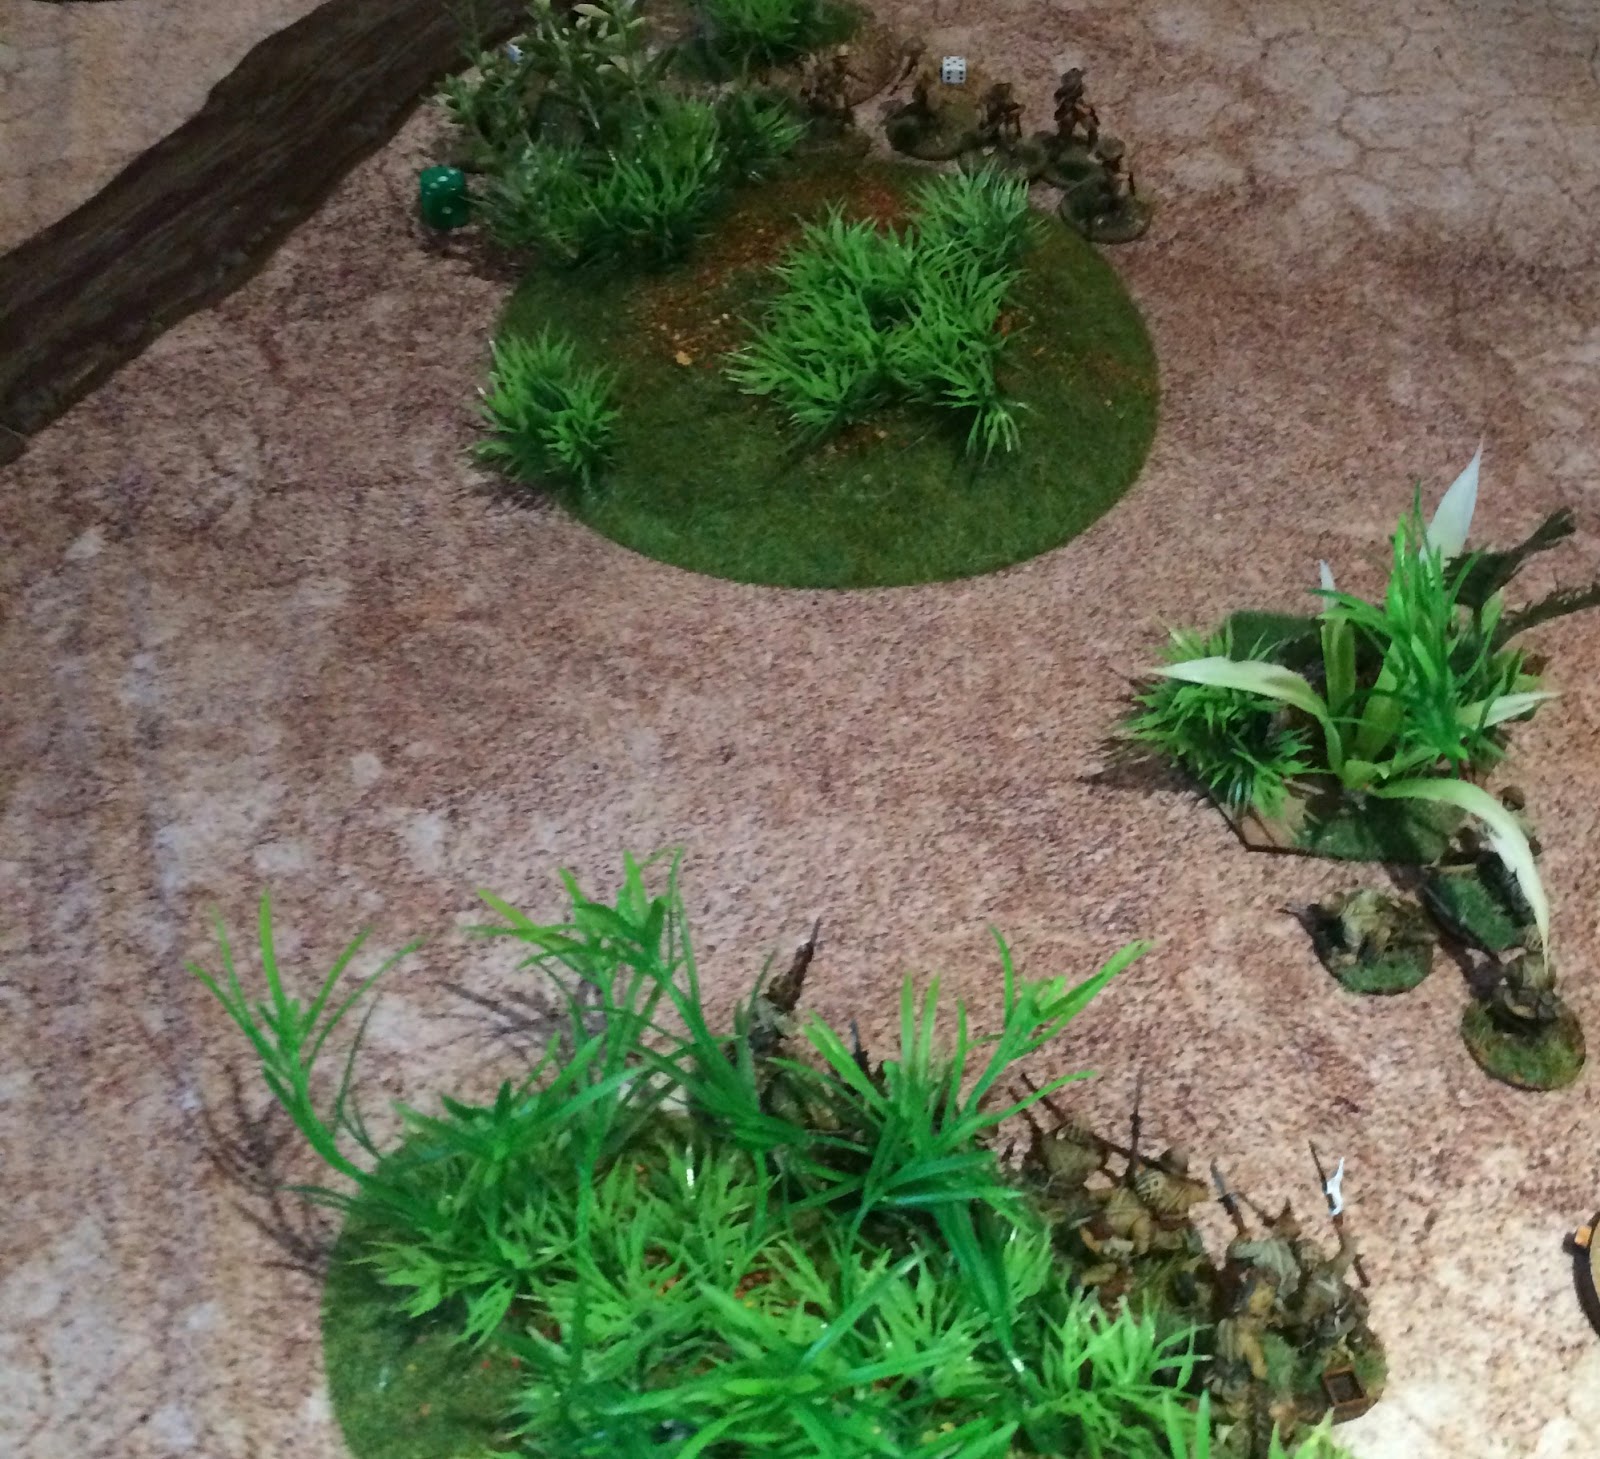
The first couple of rounds things were going quite well on the right. My squad advanced on the tentatively and  made contact with the Australian section lurking in the jungle. By combining direct fire with my mortar team I was successful in pushing them back.  So far so good. Alls going to plan. 


Lesson Two 

Better situational awareness when advancing units 

This is where  it all when wrong. Over on the left of the I pushed forward with the second squad. I rolled long. This brought me within four inches of the Australian section and there by initiated the close combat sequence. Which basically desimated both sections. But because the  the Australians are tough they don't take any shock while the remained of my Japanese withdrew due to a ton of shock. 

The veritable movement generated by dice roles are something I really like about Chain of Command. On this instance I rolled myself into trouble with a high roll. But it beautifully replicates a unit wondering around the Jungle a stumbling into a into a enemy unit.  


Lesson Three

Remember the sequence in which to activate units (This should have been learned by now)

The was compounded by the mistake I made in the last game by not ordering my mortars to fire ahead of advancing my infantry. My ability no to pay attention to the lesson of the past possibly makes me suitable for high office. 

Lesson Four

Hold a lead back in reserve to deploy the reserve 

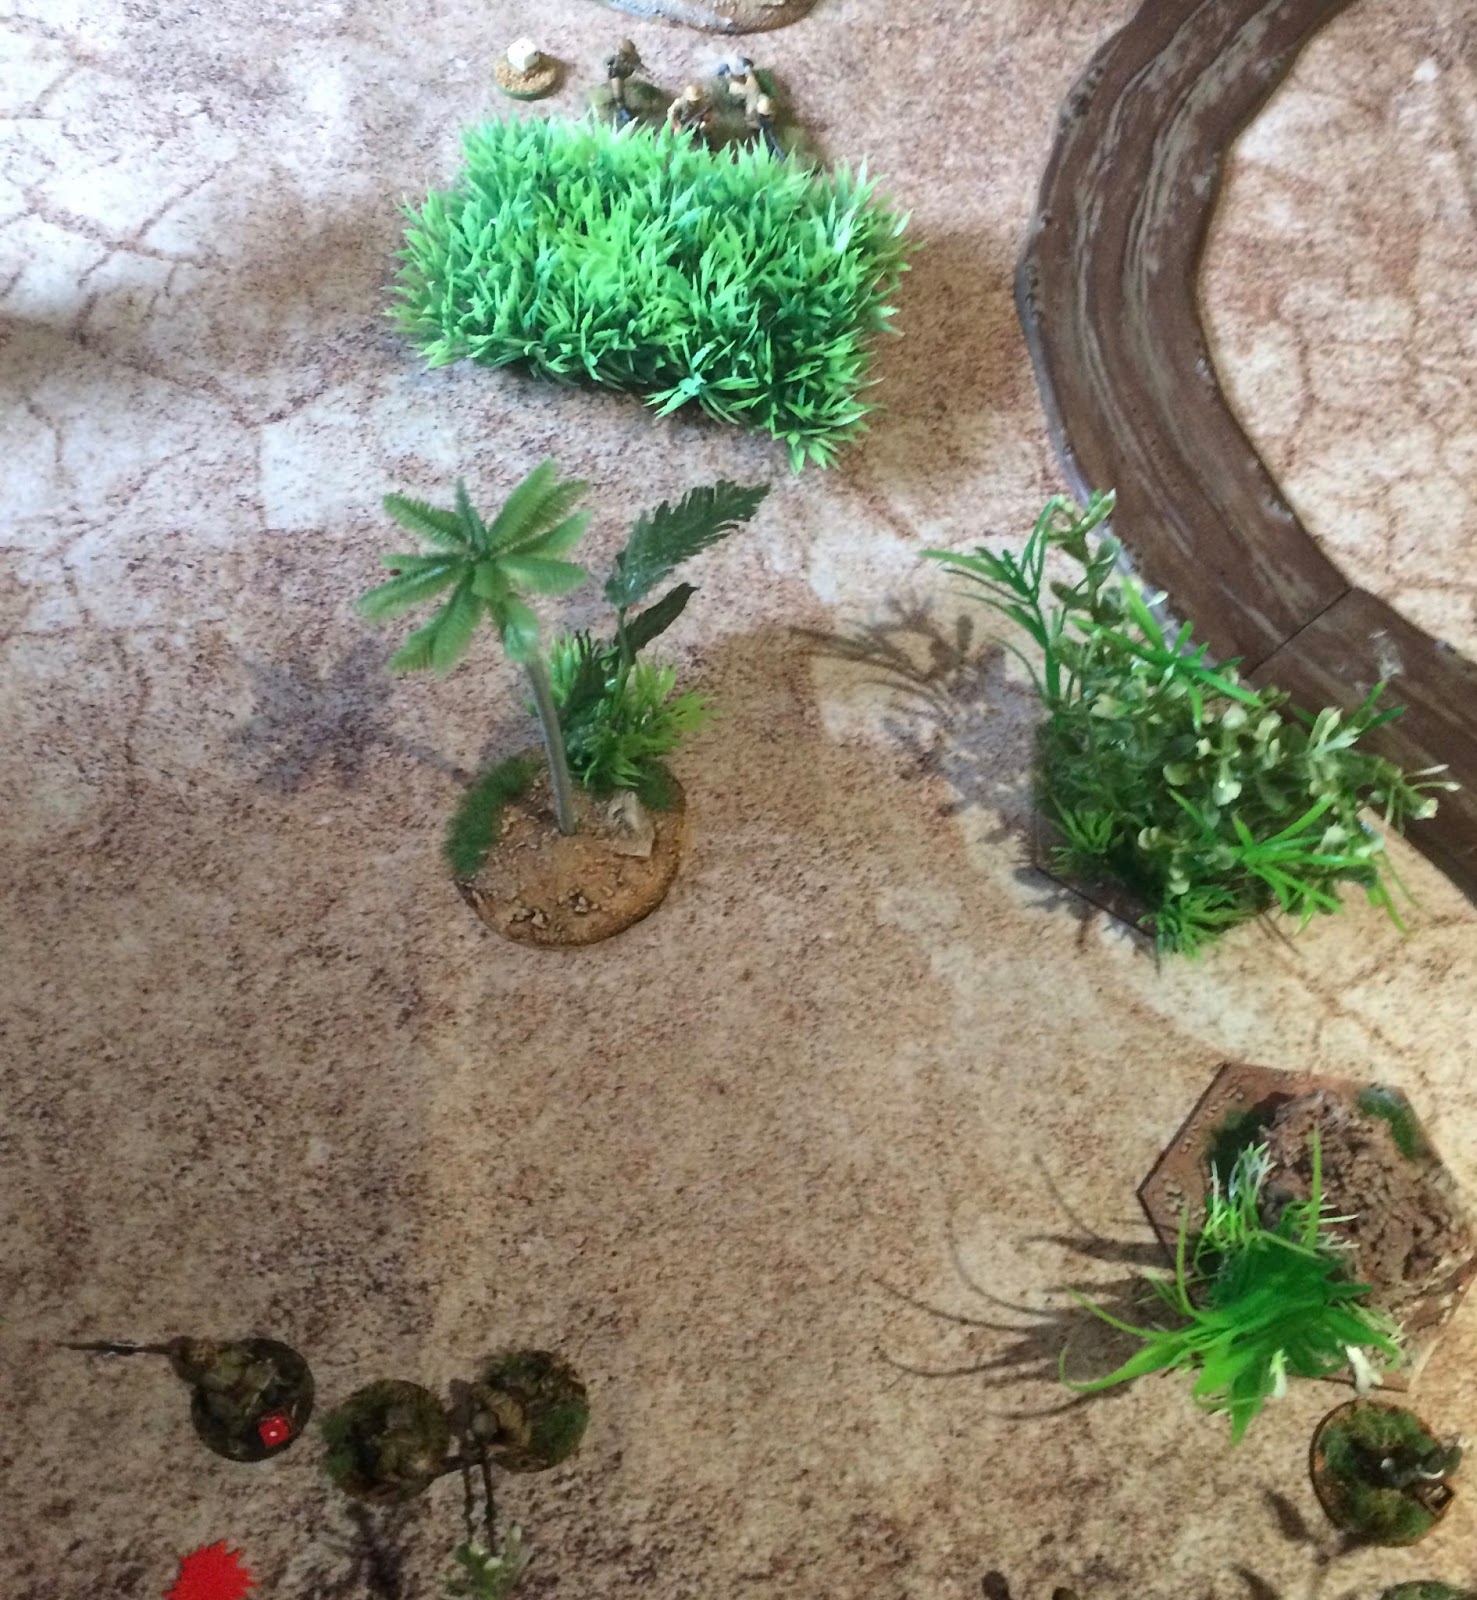
My next mistake was to deploy my junior leader prior to getting my  reserve squad on to the table. Hence, this meant that the reserve did not make it onto the table. 

All this mayhem resulted in my command dice dropped to two dice. This basically paralysed my ability to  move. This was compounded by the factor my senior leader was caught on the wrong side of the road. 

Lesson Five 

Try not to be stupid

To react to the Australians reinforcing on the right. It was necessary to move my senior across the road to get the attack moving forward again. As he moved from cover onto the road an Australian Bren team took the opportunity to use a Chain of Command dice to interrupt his movement with a hail of bullets killing the senior leader. This reduced my command dice to zero there by forcing the Japanese to withdraw. 


The first game went to the Australians. Well done Dave! 

Monday 22 May 2017

Chain of Command - Malaya 1942


Finally I got my Japanese finished and on the table.  This was the warm up game before Dave and I undertake the Too Fat Lardies Malaya 1942 campaign. We felt we made some interpretive mistakes in the Patrol and Deployment phases of the game we decide to use it has a learning game.


My placement of the Jumping off points were in the jungle when they should have been on the road according to the Campaign notes. But that aside I got a my tank on to the table early.  This was met with an Australian 2 Pounder Anti-Tank gun. For the next couple of rounds it exchanged fire with my Type 95 Ha-Go resulting in a disabled tank and a routed gun crew.


Since the lumbering beasts had been dealt with we started to deploy our infantry sections. I deployed mine incorrectly in the jungle where I should have placed them on the road.  Nevertheless, I advanced two sections through the bush while the flanking section had a Mexican standoff with a squad of Australians on the other side of the road.


What followed for me was a lesson in close combat I advanced a unit of infantry with in four inches of an Australian section resulting in a close assault. The entire unit was killed (twice). It was a really good reminder to at the very least rock a unit back with shock at the very least, and ideally pin the before closing to engage them with close combat,  particularly if they are Australians.


One central error in this phase of play was activating my dice in the wrong  order. My senior leader started issuing orders before The junior leader attracted to the light mortar selection. As a rule of thumb i should work from the rear forward when activating command dice. 


 Following that hammering it was necessary to regain some honour and turn things around. This time I got the activation order correct firing the mortar sections first and the having. The senior leader orders one of the remaining units to fire on their Australian counterparts.


Because the Japanese squads are larger plus the support of a mortar combined with rolling lots of sixes I made short work of two Australian Squads on the right. This was made somewhat easier by the face my command dice gave me three phases on the bounce. Followed by a further two consecutive phases of play. The game ended with  Dave curing my  jammieness.